


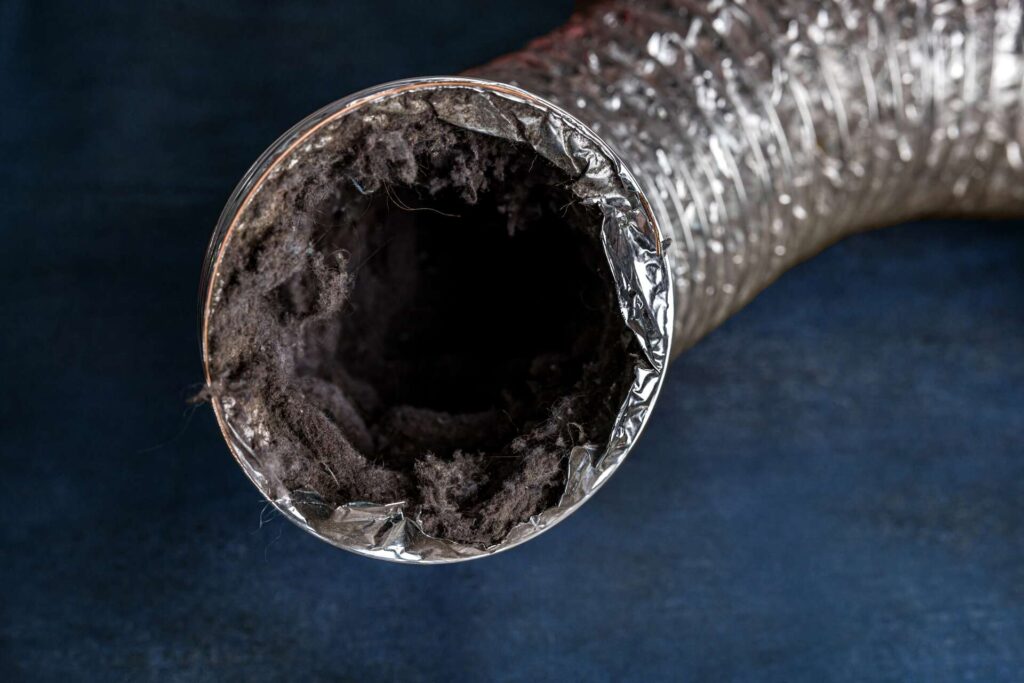
Clogged dryer vents are one of the leading causes of house fires. Over time, lint buildup inside the vent system can significantly reduce airflow, cause overheating, and create a serious fire hazard. Cleaning your dryer vent regularly is an essential maintenance task that helps keep your home safe, reduces energy consumption, and prolongs your dryer’s lifespan.
In this guide, we’ll walk you through the process of cleaning your dryer vent and share why it’s so important.
Why Is Cleaning Your Dryer Vent So Important?
A neglected dryer vent can lead to several serious issues:
- Fire Risk: Lint is highly flammable. Restricted airflow can cause the dryer to overheat, increasing the likelihood of a fire.
- Longer Drying Times: When airflow is restricted, your clothes take longer to dry, forcing the dryer to work harder.
- Higher Utility Bills: An inefficient dryer consumes more electricity, increasing your monthly energy costs.
- Shorter Dryer Lifespan: Constant overheating can lead to wear and tear on your dryer, shortening its lifespan.
Regular dryer vent cleaning is a small effort that can save you from costly repairs and fire hazards down the line.
How to Tell If Your Dryer Vent Needs Cleaning
If you notice any of these signs, it’s time to clean your dryer vent:
- Clothes take longer than usual to dry
- You notice a burning smell when the dryer is running
- There’s an excessive amount of lint around or behind the dryer
- The laundry room feels unusually warm or humid
- The exterior vent flap doesn’t open fully during operation
These are all signs of a clogged vent system, which can lead to poor dryer performance and safety risks.
Step-by-Step Guide to Cleaning Your Dryer Vent
Step 1: Gather Your Cleaning Tools
Before you start, make sure you have the following supplies:
- Vacuum with hose attachment
- Dryer vent cleaning brush or kit
- Screwdriver
- Flashlight
- Safety gloves and mask
- Duct tape (optional)
Step 2: Unplug and Disconnect the Dryer
For your safety, unplug the dryer. If you have a gas dryer, shut off the gas supply as well. Move the dryer away from the wall to access the vent hose.
Step 3: Disconnect the Vent Hose
Use a screwdriver to loosen the clamp securing the vent hose to the back of the dryer. Carefully disconnect the hose from the dryer and the wall vent.
Step 4: Remove Lint from the Vent Hose
Shake out any loose lint from the vent hose. Use a vacuum with a hose attachment to clean the inside of the hose. For stubborn buildup, a long dryer vent brush can help scrub out the debris.
Step 5: Clean the Wall Vent
Next, clean the wall vent where the dryer exhausts hot air outside. Use your brush and vacuum to remove lint and debris. You can use a flashlight to look for deeper blockages.
Step 6: Check the Exterior Vent
Go outside and inspect the vent cover. Clear away any visible debris such as leaves or lint. Ensure the vent flap opens and closes properly when the dryer is running. If there’s stubborn debris inside, you may need a leaf blower or air compressor to remove it.
Step 7: Reconnect and Test the Dryer
Once the vent is clean, reconnect the vent hose securely and push the dryer back into place. Make sure the vent hose isn’t kinked or crushed. Plug the dryer back in, run a test cycle with no clothes inside, and check the outside vent to ensure warm air is flowing freely.
How Often Should You Clean Your Dryer Vent?
To keep your dryer running safely and efficiently, aim to clean the vent at least once a year. However, you may need more frequent cleanings if:
- You do large amounts of laundry, like in a busy household
- You notice any of the warning signs listed earlier
- You have a longer vent system or one with multiple bends
Extra Dryer Vent Safety Tips
- Empty the lint trap after every load to reduce lint buildup in the vent.
- Use metal ducts instead of plastic or foil to minimize fire risk.
- Never leave your dryer running unattended, especially overnight.
- Schedule professional inspections if you’re unsure how to clean your vent or if your system requires a more thorough inspection.
Conclusion: Keep Your Home Safe with Regular Dryer Vent Maintenance
Taking the time to clean your dryer vent is a small investment that can help prevent devastating house fires, lower your energy bills, and extend the life of your appliance. By following this simple step-by-step guide, you can reduce risks and keep your dryer working at its best.
For more info visit earth blogging
For those who prefer a professional touch, consider scheduling a dryer vent inspection with Guardian Angel Inspections. Our experts will thoroughly inspect and clean your dryer vent to ensure your home is safe and efficient.
📞 Need a dryer vent inspection?
Call Guardian Angel Inspections at 561-512-7854 or fill out our contact form to schedule your appointment today.